2 Engineering Challenges Kids Love
- August 31, 2016
- By Mari Venturino
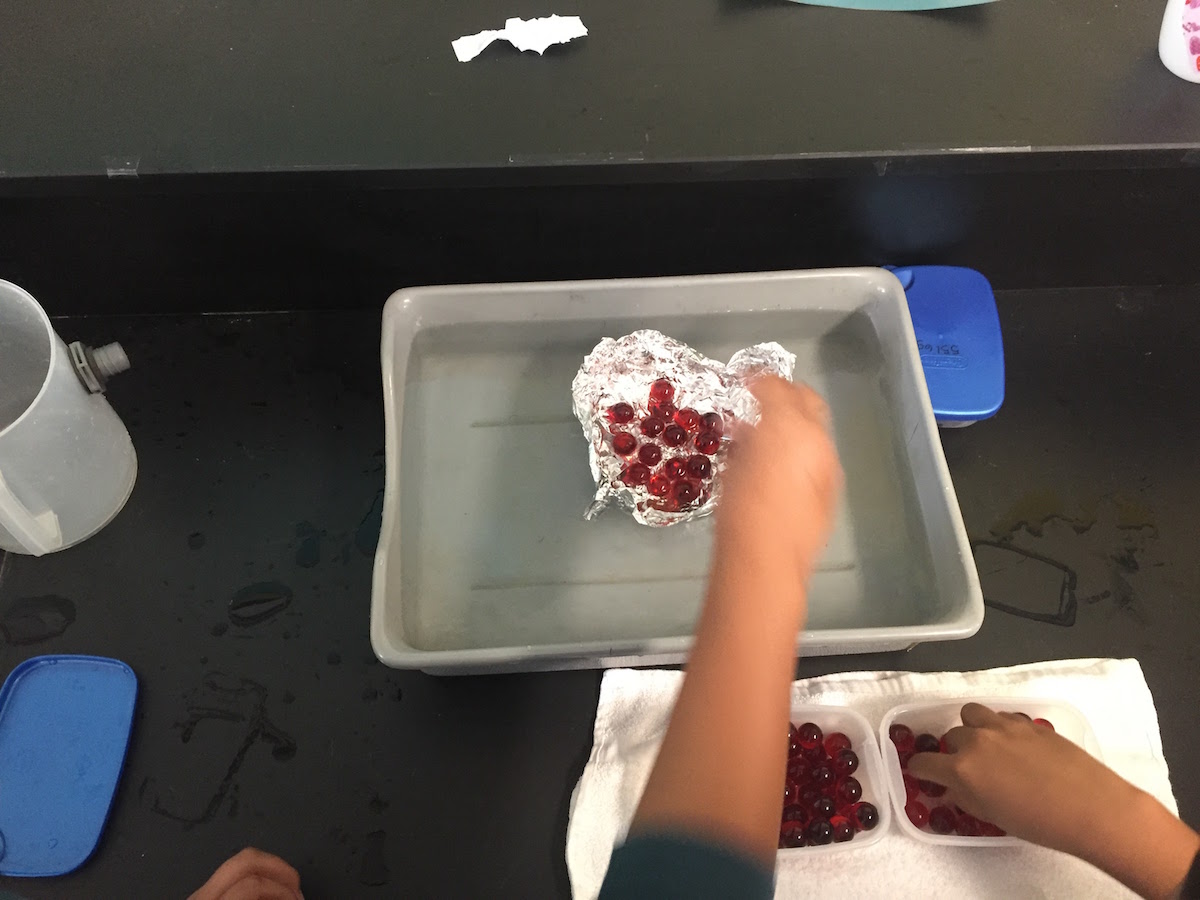
Walk into my classroom in early August, and you’ll see students with their heads together, excitedly discussing their marble boat designs. There is chaos, but students are moving about the room purposefully between their desks, seeking out my feedback, and to the counters to test their models.
Three years ago, our school district adopted the Next Generation Science Standards, and we shifted not only what we taught, but also how we approached our lessons. Previously, we addressed engineering as a one-shot challenge, where students were given a creation prompt, a time limit, and some materials. Typically I used a mystery building challenge, such as: “build the tallest tower you can from the materials in this bag in 20 minutes.”
I knew that there was more to engineering than these quick building competitions, but I had no idea how to actually implement that into my classroom. When I heard about engineering-related projects other teachers were doing, using coding, 3D printers, and robotics, I was intimidated (and I even consider myself a techie teacher!)
Last spring, my students and I participated in an engineering design field trial through the Lawrence Hall of Science where students were presented with a design challenge, had design constraints, and created and tested prototype models. After this experience, I felt more comfortable facilitating engineering and NGSS into my own classroom.
Teachers can easily implement engineering into their classroom by providing students with a problem or challenge, giving them design constraints (certain materials, budget, and/or size or appearance guidelines), and designating time for students to design, build, test, and redesign. Here are two examples of engineering design labs that I’ve had success with in my classroom.
Marble Boat Engineering
The marble boat engineering lab fit in less than our 100 minute block period, and was highly engaging for my students. I have done a similar activity with my students in the past as a one-shot design competition using pennies. This time I didn’t have enough pennies, so we switched to marbles.
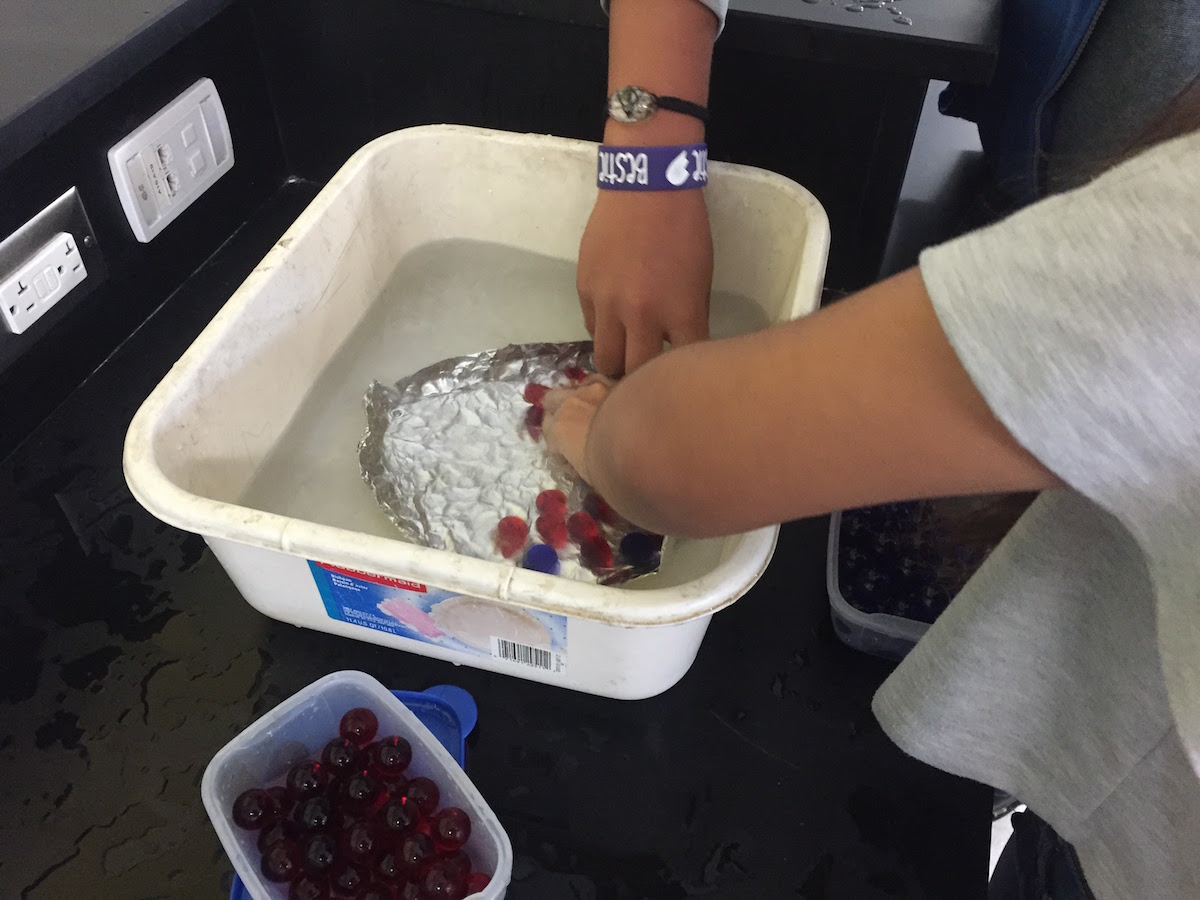
To prepare our lab stations, I setup bins and buckets with water and containers of marbles. After I introduced students to the lab and expectations (mix 7th graders and water, some guidelines are necessary!), I asked them to work in pairs to draw their first design in the “design & build” section. Once they showed me their drawing, I gave them a square of aluminum foil. Any size works, as long as you stay consistent within the class period.
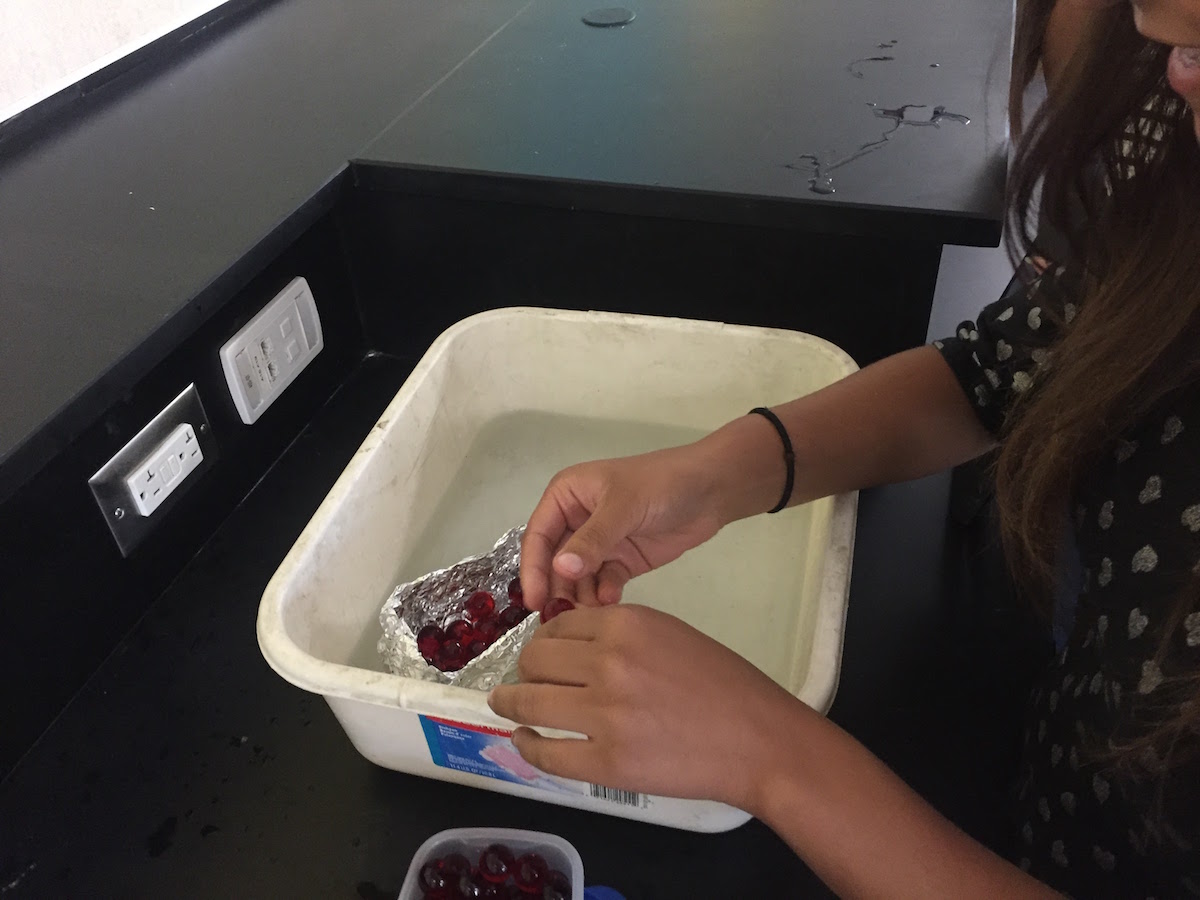
Students went to test their design, and recorded how many marbles their boat held. When pairs returned to their seats, they filled out the “test” and “reflect” sections for their first design, and moved on to their next “design & build.” This design and build, test, and reflect process was repeated three times. Afterward, students completed their analysis questions to justify their most successful design.
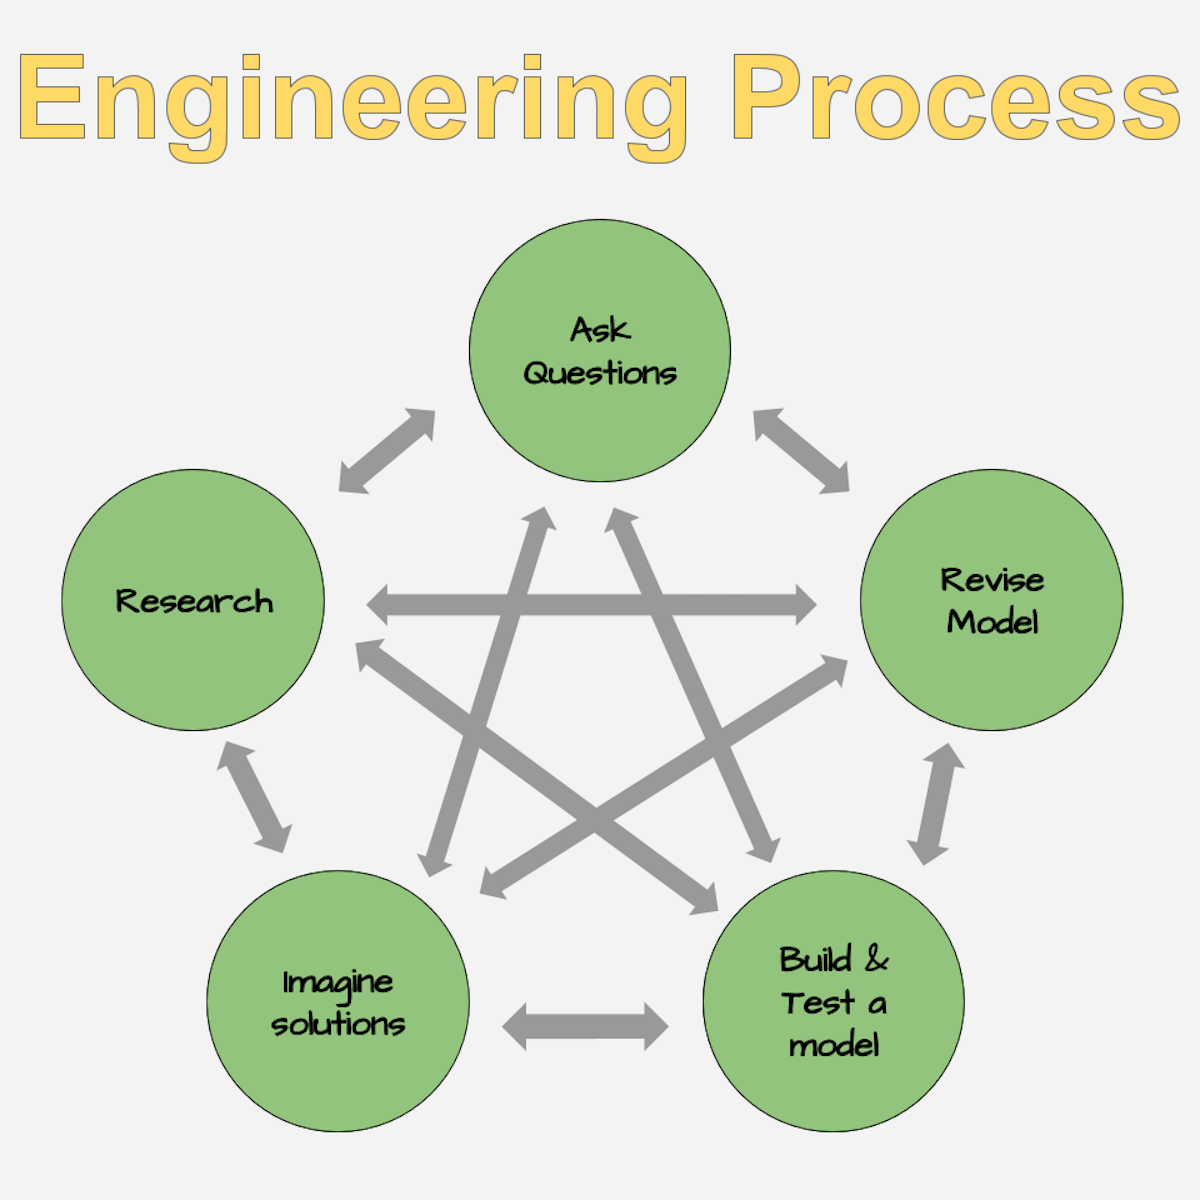
Once we finished the lab, we had a lively class discussion on what skills they used while completing the engineering design process. Eventually and with guidance, students came up with the following skills: ask questions, research, imagine solutions, build and test a model, and revise model. We discussed how engineering is not linear, and requires students to constantly think and reflect on what is working and what can be improved.
One great thing about this lab is that I brought it to our moderate/severe special education class on my prep period. I was able to complete the lab in small groups with this group of students plus a few instructional aides. With the more verbal students in the class, we were able to have conversations about making changes to designs and what worked and what didn’t. For others, the act of counting marbles together was a valuable skill.
Paper Airplane Engineering
After the marble boat engineering lab, I introduced my students to a larger project, the paper airplane engineering lab. This project took a week — two 100-minute block periods, plus a Friday minimum day. In previous years, I’ve used a variation of this lab to teach the scientific method, independent and dependent variables, and data collection. My science team and I modified this lab to focus on engineering. Just like the marble boats, students designed, built, tested, and reflected on three different paper airplane models. Their goal was to create a paper airplane that flew both straight and far.
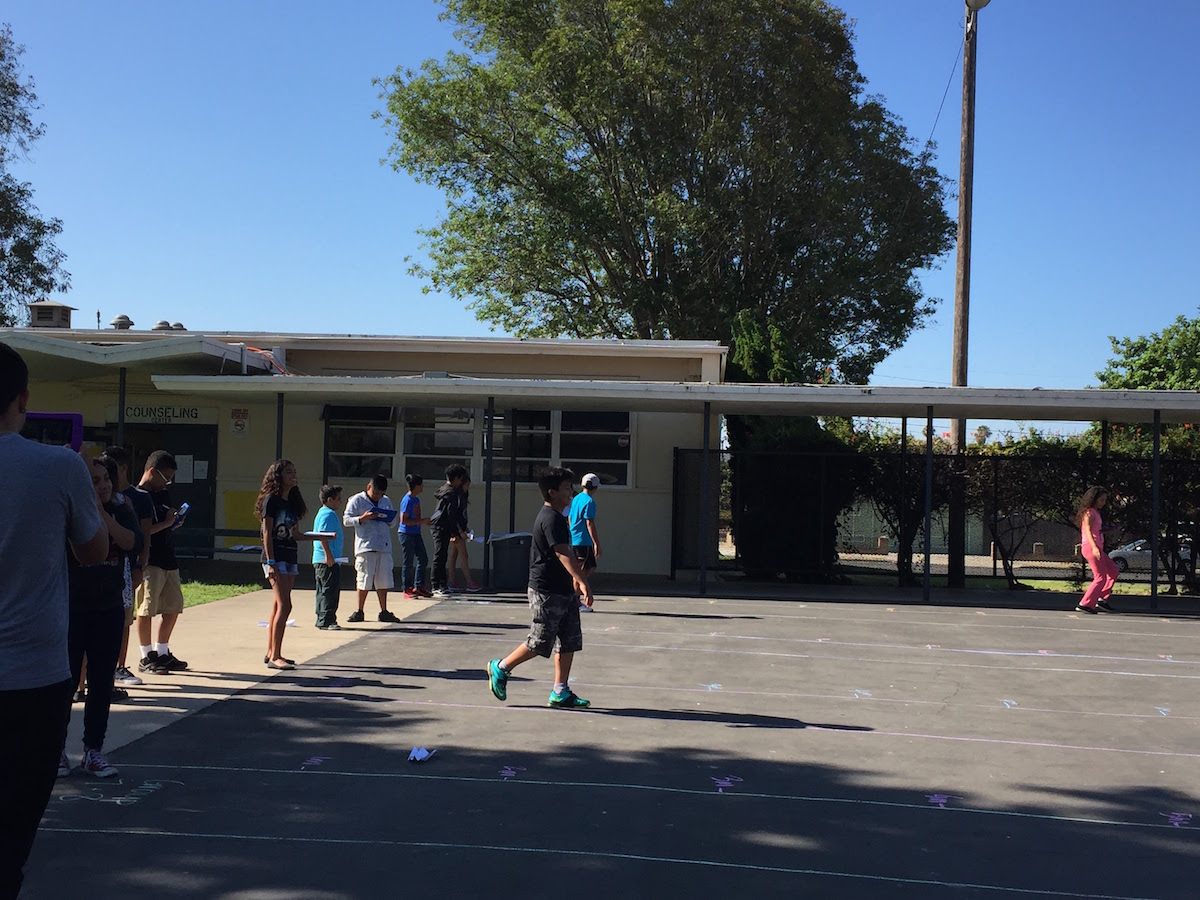
To set up this lab for testing outside, I recruited students to draw 1 meter wide and 20 meters long landing strips in chalk on the concrete. With meter sticks, we marked off each meter along the landing strip.
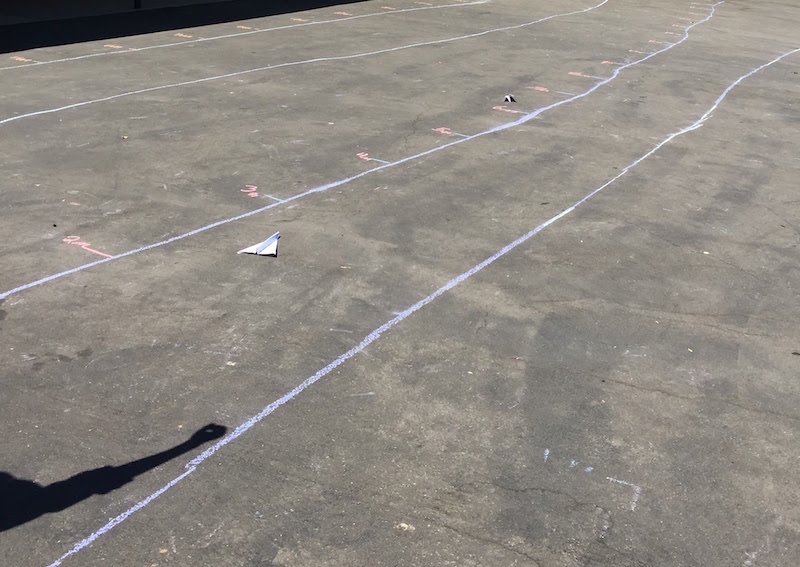
When we went outside to test paper airplanes, students noted if their paper airplane flew straight and landed in the landing zone, and estimated how far their paper airplane went, down to the half meter (quarter meter for students who felt comfortable with that).
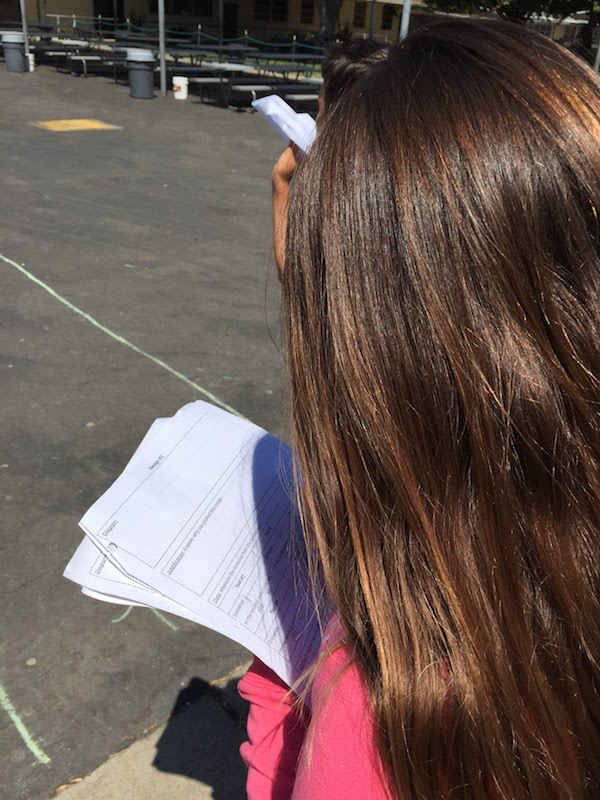
Even though this is less accurate, we prioritized focusing on engineering practices over measurement skills — we will spiral back to measurement multiple times this school year, and exact measurements were not detrimental to our lab. For students who were ready, finding exact measurements and calculating the average distance would have been a logical extension.
This school year, as my students and I get more comfortable with the engineering design process, we will be able to expand the scope of our projects. We have a good foundation for what engineering looks like on a small scale. Our next steps are to bring in an engineer as a guest speaker to talk about their career, and continue with more engineering projects that fit in with our curriculum.
2 Engineering Challenges Kids Love | Mari Venturino

